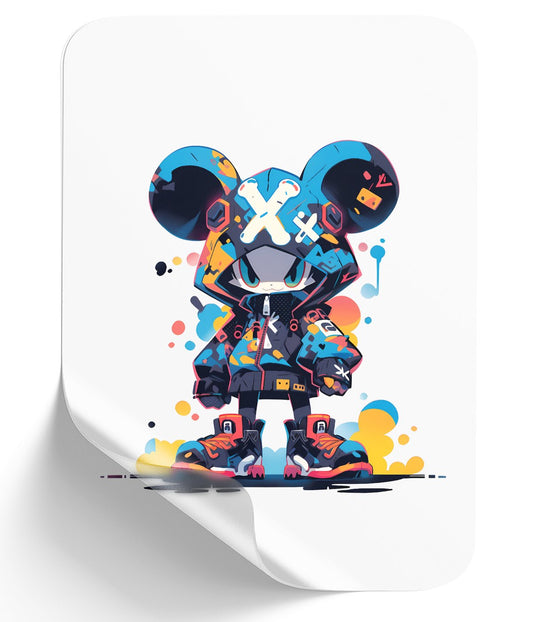
Behind the Scenes: Creating the Skullface Mickey Mouse Design
Step into the fascinating world of art creation with our latest project featuring a unique faceless Mickey Mouse design. Guided by our talented graphic designer, this tutorial offers a step-by-step approach to creating this vibrant piece using direct-to-film (DTF) printing techniques. We'll not only showcase our artistic process but also give away the final design along with a sample shirt. Read on to learn how to bring your own designs to life!
Table of Contents
- Step 1: Creating Line Art
- Step 2: Coloring the Artwork
- Step 3: Preparing for DTF Printing
- Step 4: Applying the Transfer
- Conclusion

Step 1: Creating Line Art
We begin the design process by establishing the line art.
- Select the Pen Tool: Click on the pen tool from the toolbar or press 'P' on your keyboard.
- Adjust Settings: Set the path to shape, fill to 'no color,' and choose 'black' for the stroke. Adjust the stroke thickness to your preference.
- Layer Preparation: Create a new layer above the sketch (Control + Shift + N) and lower the sketch's opacity to about 40%.
- Tracing: Trace the sketch using a broken line. To continue a line, press Control and click on the end of the line. For curves, click and drag while holding the left mouse button.
- Merging Strokes: Merge all strokes created and group them (Control + G). Merge them into a rasterized image (Control + Alt + E) and rename the line art layer appropriately.
- Refining Edges: Use the Eraser tool with a hard round brush to erase any unwanted parts for sharper edges.
Step 2: Coloring the Artwork
Next, we apply colors to the line art.
- Creating a Color Scheme: Right-click on the selection tool and choose the magic wand tool to select areas for coloring. Expand the selection by four pixels.
- Filling with Color: Create a new layer underneath the line art and press Alt + Backspace to fill the selected area with color. Repeat this step for all sections.
-
Adding Shadows and Highlights:
- Select the flat color layer to add details. Create a new layer on top and make a clipping mask (Control + Alt + G).
- Use the pen tool to draw shadow shapes and fill them with a darker color.
- For highlights, repeat the process using a lighter shade. Adjust as necessary until satisfied.
Step 3: Preparing for DTF Printing
After completing the design, it's time to prepare for the DTF transfer.
- Measuring the Transfer: For our project, the transfer size is set at 10 by 15 inches.
- Selecting the Shirt: We are using a BTSA heavyweight jersey t-shirt in jet black (model number JOY001), available in sizes from extra small to 4XL.
- Choosing the Heat Press: We utilize the Heat Master Prisma with a 16x20 layout for optimum functionality.
Step 4: Applying the Transfer
Follow these steps to apply the design onto the shirt:
- Heat Pressing: Preheat the heat press and place the transfer onto the shirt.
- Timing: Wait for around 15 seconds before peeling the transfer for an immediate reveal.
- Final Check: Place the transfer back on if necessary and ensure everything is embedded correctly.
Conclusion
The final design of the Skullface Mickey Mouse looks incredible, showcasing the high-quality print capabilities of DTF. This tutorial not only highlights the artistic process but also emphasizes the ease of creating your own designs at home. To receive this unique design, participate in our giveaway by commenting on what you enjoyed about this video and sharing your city of residence.
Don't forget to bookmark this guide for future reference and subscribe for notifications on upcoming tutorials. Happy designing!