Ultimate Guide: Mastering Halftone and Knockout Techniques for Glowing DTF Printing Effects
Table of Contents
The world of Direct-to-Film (DTF) printing continues to evolve, bringing exciting possibilities for custom apparel and accessories. Today, we'll explore how to create stunning glow effects using halftone and knockout techniques that can transform ordinary designs into eye-catching masterpieces.

Understanding the Basics of DTF Glow Effects
The process combines two key design elements: halftones and knockouts. Halftones create subtle gradients and textures, while knockouts remove specific areas of the design to create contrast. When combined, these techniques produce a striking glow effect that makes designs pop, especially on darker materials.
Step-by-Step Design Process
Creating Your Foundation
First, duplicate your original artwork to preserve the source file. This safety measure ensures you can always return to the original design if needed. Work in a new document to maintain organization and prevent accidental changes to your original.
Converting to Grayscale
The next crucial step involves converting your artwork to grayscale. This conversion helps ensure proper knockout areas and prepares the design for halftone application. The grayscale conversion simplifies the process of identifying areas where the glow effect will be most impactful.
Adjusting Contrast and Levels
Fine-tune your design by adjusting the contrast and levels. This step is critical for:
- Enhancing detail visibility
- Creating clear separation between elements
- Ensuring proper halftone distribution
Applying Halftone Effects
The halftone screen process requires specific settings for optimal results:
- Resolution: Maintain 300 DPI for professional quality
- Frequency: Set to 45 for balanced detail
- Angle: Position at 22 degrees for optimal visual effect
Technical Specifications
Optimal Size Guidelines
For best results, consider these dimensions:
- Height: Approximately 13 inches
- Width: 10.5 to 13 inches
These measurements provide enough space for the design to breathe while maintaining detail integrity.
Printing and Application Process
Equipment Requirements
The process works best with:
- Heat Master Prisma press
- Heat press pillow
- Microfiber cloth
Application Tips
When applying the design:
- Use a heat press pillow to ensure even pressure
- Avoid placing designs over seams
- Apply consistent pressure across the entire design
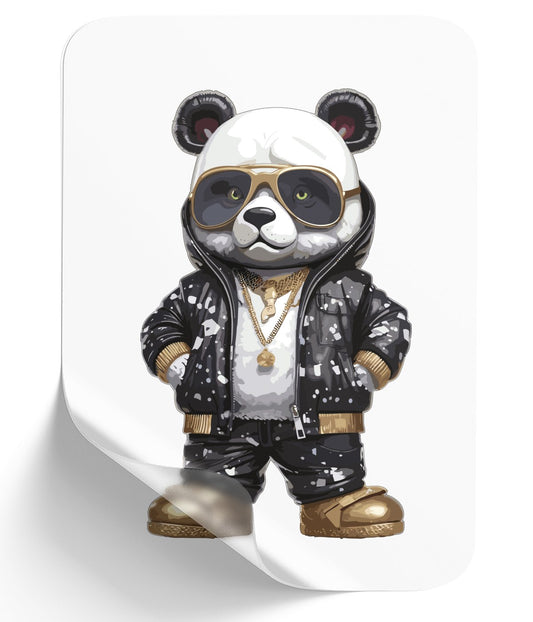
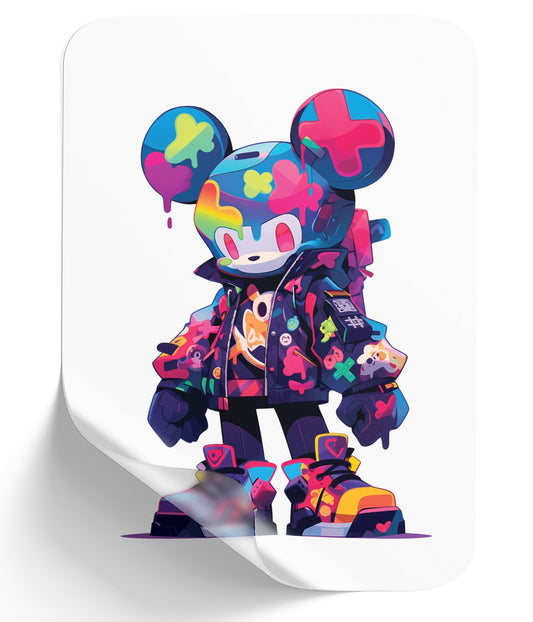
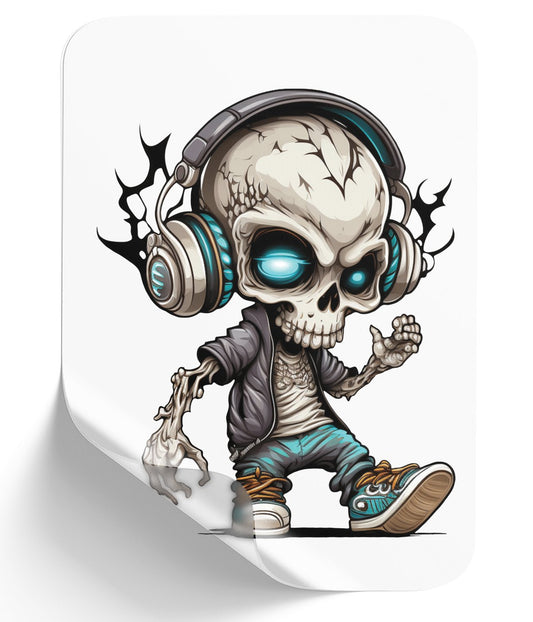
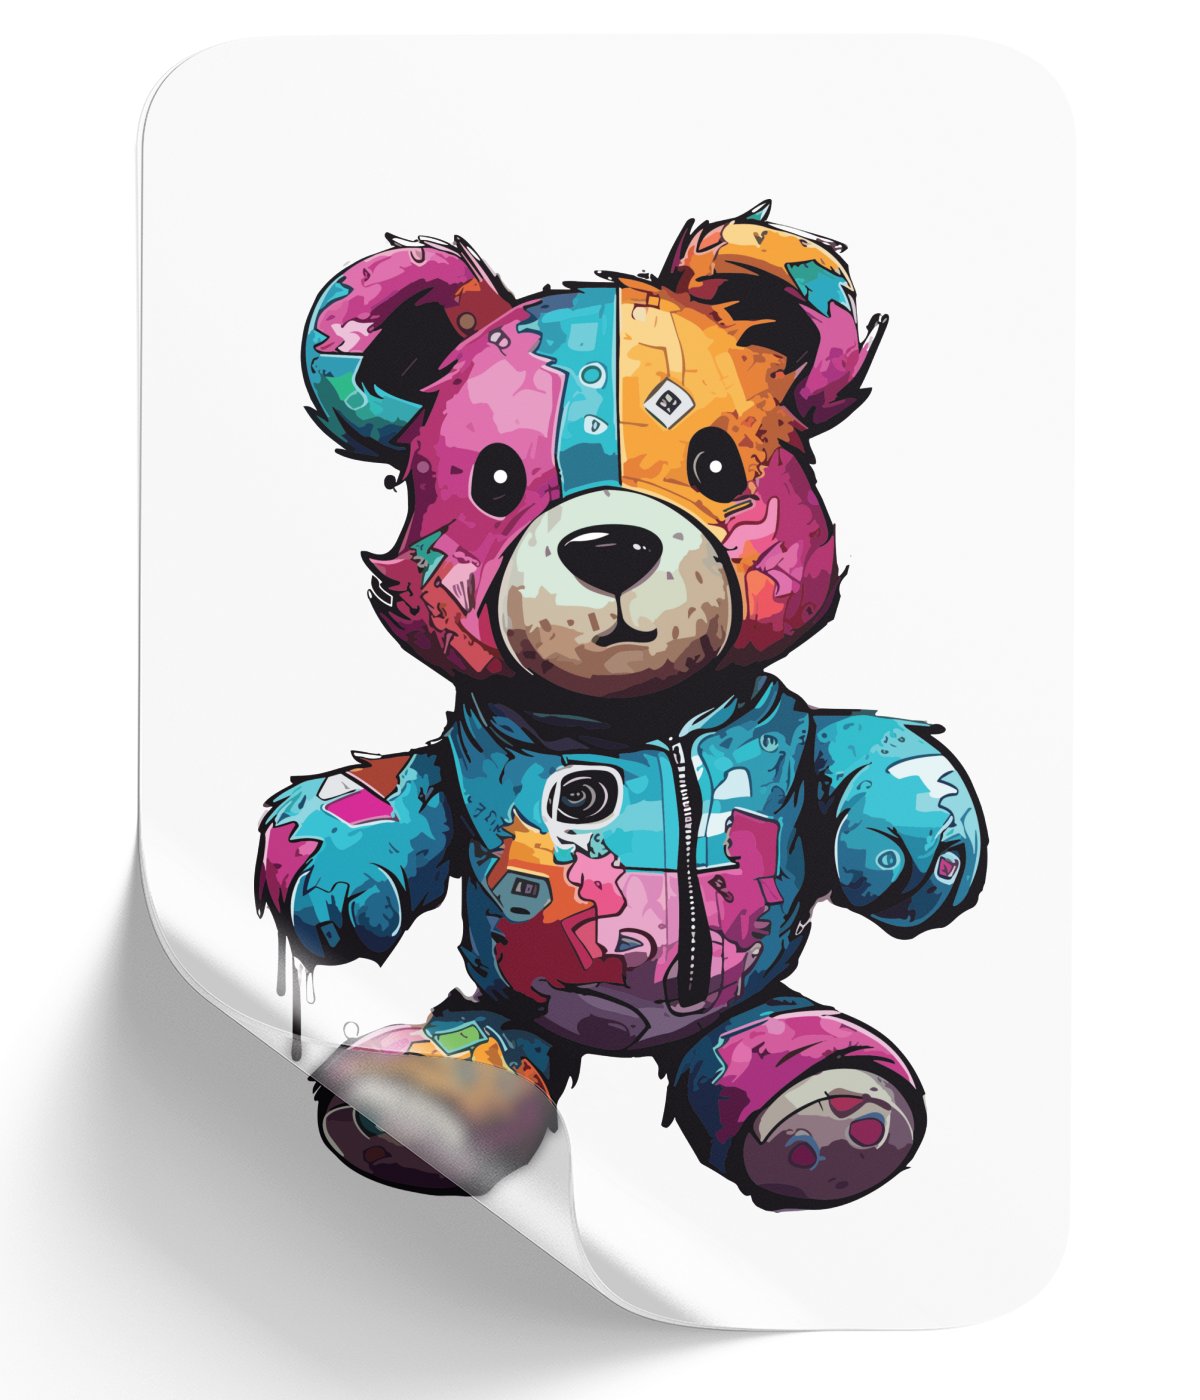
Real-World Applications
The technique proves particularly effective on various materials, but especially shines on:
- Tote bags
- Dark-colored fabrics
- Accessories requiring high-contrast designs
Professional Results
The final product demonstrates remarkable visual impact with:
- Visible glow effects
- Clean, crisp edges
- Professional-grade durability
This technique represents a significant advancement in DTF printing capabilities, offering designers new ways to create distinctive, professional-quality products that stand out in the market.
Remember that practice makes perfect, and don't be afraid to experiment with different settings to achieve your desired effect. The combination of halftone and knockout techniques opens up endless possibilities for creating unique, eye-catching designs that will impress your clients and elevate your printing business.
Ready to Embark on your DTF Journey?
Experience DTF Excellence Today! Get your Sample Pack! See the vibrant colors, durability, and precision we offer firsthand before you invest.
Transform Your Style with our DTF Collection!
Ready to Elevate Your Printing Game? Submit your custom order now and experience:
- Superior color accuracy
- Premium durability
- Fast turnaround times
Click here to start your DTF printing journey!